
Main Conference Hall, New York, 180/2
19-20 September 2022
Speakers Schedule
Software Development
Conference
Annual conference
Contact
conference
Theme
Large amount of features
WoocommerceSoftware architecture
Main Conference Hall, New York, 180/2
19-20 September 2022
Speakers Schedule
Annual conference
Contact
Large amount of features
WoocommerceSoftware architecture
KaramaSoft 2022 Conference
Сonferences are organized by developers. They are technical in nature and focus on the latest trends in software development. The track topics can vary widely.
It includes keynote speeches, seminars, workshops, and a “corridor track” for conference participants to find like-minded people with whom they can share ideas in a structured way.
25 +
speakers
10 +
grand hols
55 +
workshopes
99 +
exhibitions
We are going to talk about the possibilities of interaction between the government and business in the development of the IT industry. We will find out whether the dialogue between the authorities and the “new economy” is effective, and whether tax incentive regimes for the IT industry are in place.
It will also cover important issues of labor market and education in IT.
We will discuss state and prospects of the software industry: how is the IT sector developing compared to the leaders of the global market? The conference will cover research papers on IT and information economy developments in the world and macroeconomic assumptions for the IT industry.
SCHEDULE
19th–20th of September 2022 | Main Conference Hall, New York, 180/2
We invite you to participate in the annual conference of the software development industry
All visitors should complain datas before conference. Venue: Main Conference Reception
Opening will host invited presentations representing the leading thoughts, new ideas and visions. Speakers will be allocated 30 minutes for presentation and discussion of their paper. Venue: Main Conference Hall
Workshops - In the main conference venue, the chief scientist gave an excellent talk on "Recent developments in ultra-small algorithms for the intelligent analysis of user data and recommendations." He said that the era of the Internet and the era of big data has arrived. The new era has brought with it more challenges, including big data mining and smart recommendation problems, but these challenges are also accompanied by more opportunities. Venue: Green Hall
Venue: Summer Cafe
Workshops - The representative will speak on "Heterogeneous Computing, Unlocking the Future of the Computational Era," sharing the latest advances in heterogeneous computing. Venue: Red Hall
On the main floor of the conference, a technical consultant will give a wonderful talk on "A System Platform for Everyone Who Writes Applications - An Analysis of the Web Application Platform." He will present some of his own experience and accumulation over the past years, and he will define it as a system platform on which anyone can write applications. Venue: Red Hall
The Software Developer Conference is in full swing. On the main conference floor, the CEO of Innovation Business will give a great speech on "Helping Developers Turn Dreams Into Innovations. Venue: Main Conference Hall
In the main conference spot, the lab's chief scientist will give a great talk on "Emerging Trends in Machine Learning." He believes that machine learning is changing the way we live and work, but in turn, machine learning can also learn from human-computer interaction.
Venue: Summer Cafe
SPEAKERS
Renowned product leaders, major Internet architects and senior enterprise engineers were invited to this year’s conference to discuss hot topics such as core technologies, products and practical applications.
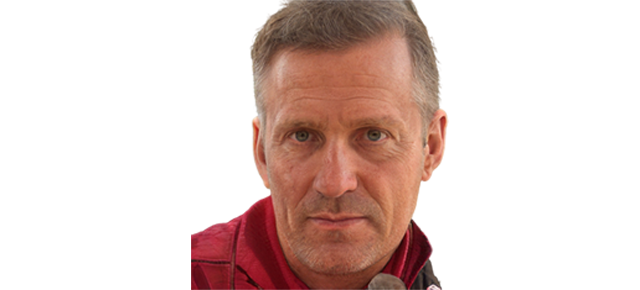
Jeremy Crackevich, Senior Software Engineer of the Bechtelar Cloud Platform, helps you understand the Bechtelar Cloud Architecture. Bechtelar embraces the "usage doctrine," and its development is largely based on open source software and its entire business is based on cloud computing. In addition, its invaluable and balanced corporate culture is also very attractive to developers.
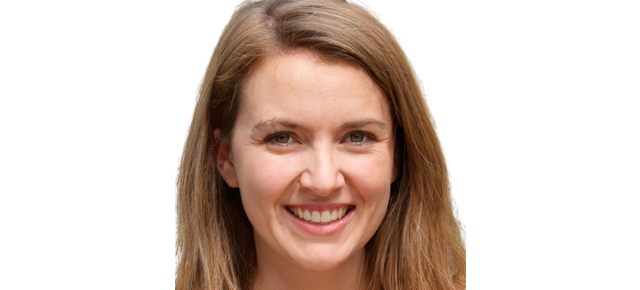
CEO, Stracke Corp.
Stracke's CEO gave a great speech on "The Beauty of Simplicity." He said that because of changing times, competition, project needs, etc., If a project is to be successful, only simplicity is king, and only simple positioning can become popular. So, how do you make it simple? In this regard, he gave three suggestions:
1. Design for the minority.
2. Shorten the development cycle as much as possible.
3. minimize interface elements.
Abshire Inc.
Abshire's Deputy General Manager of Open Platforms, gave an excellent speech on "The Architectural Design and Practice of Abshire's Open Platform"
Senior Software Engineer, Kunze
Senior Software Engineer at Kunze, gave a great talk on "Building a Real Time System Platform.
CTO, Denesik

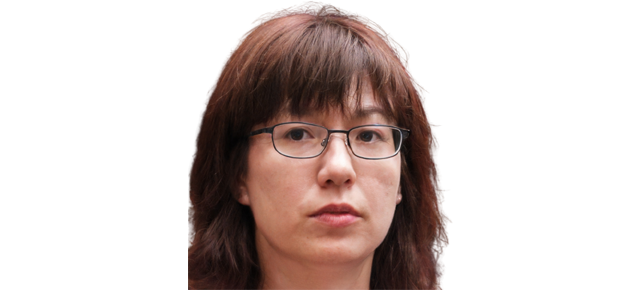
Amaya Bernhard, CTO of the Denesik cloud computing platform, will give an excellent talk on "Next Generation Mobile Internet Technologies. Amaya Bernhard will say that the current IT industry has three very big trends: social, cloud, and heterogeneous. How to combine the three most popular technologies? Based on the Denesik platform, great applications can be developed using different development tools and API calls.
Partners

Development of software for the gambling industry from world leaders in development

Game developer salary, as well as any other IT specialists, depends on their level of experience. How much money do game developers make?
The app that solves the problems of macOS users: “How to Change Folder Icons On a MacBook“
Our CEO Eugene Ustinenkov will speak at KaramaSoft Conferens tell about the marketing strategy used to promote our watermark remover service.
Stanislav Ostrovskiy the CEO of Kodjin FHIR Server will be a speaker at the Karamasoft conference presenting FHIR server & facade opportunities for healthcare businesses.

GetDevDone delivers WordPress development solutions to businesses and agencies of all types. Exactly on time and precisely on budget.
For small to large-scale businesses, our Magento website development solution is completely tailored. Our Magento certified professionals will work relentlessly to assist you in achieving your goals if you pick us.
Mobile app development outsourcing is a prudent way to pass the buck to a third-party vendor.

WOWnGO is developing a unique solution for booking experiences as gifts. Selecting and listing experiences, personalizing gifts, booking and delivering gift vouchers, exchanging selected experiences – everything is possible at https://wowngo.ca

Forbytes, an engineering software company, is a top provider of bespoke tech solutions for businesses across the globe. We are passionate about what we do and ready to share our extensive experience.

As your trusted partner, Digital Marketing Agency makes your business success our top priority. Let Elit-Web help you accomplish your goals through our proven online promotion strategies and tools.
Pricinig
In line with the general trend of mobile technology, cloud computing and the Internet of Things, the entire information services industry is facing reorganization and reshuffling.
The conference, which will be attended by leading software developers, aims to establish personal contacts between specialists, to discuss the prospects of free software development, and to initiate new projects.
It is planned to publish a collection of abstracts by the beginning of the conference.
Topics for the reports:
Testimonials
What Do People Have to Say About the Design Days Conference? Attendee testimonials from past Design Days Conferences:
The work at the conference was useful to me, as in previous meetings.
There is always something to learn! I immediately applied what I learned in counseling adolescents. Just today I had one such consultation, where I applied the technique that you outlined.
I feel my cognitive growth in arming myself with another effective technique for my work.
I would be happy to attend future conferences. Always ready for cooperation and dialogue!
This is the first time I have participated in conferences, I liked it very much, I would like to take part in such events more often. This work helped me to think about special topics that in life we usually close our eyes to. Such workshops help to change life for the better. Expand our horizons. By reflecting we discover something new, our sincere feelings and emotions.
Thank you very much, I look forward to new conferences!
Thank you so much for such an up-to-date conference, which helped me make sure I was doing the right thing! What a variety of ideas, what a wide horizon! Thank you very much for your hard work, for the detailed consideration of the most different moments! I will gladly participate in the next conferences!
Please feel free to contact our support team if you’ll need any assistance.